In this article I’m going to demonstrate what kind of screenplay formatting elements Fade In uses to take care of the screenplay formatting for you, and how you can use them quickly and easily.
Screenplay Format
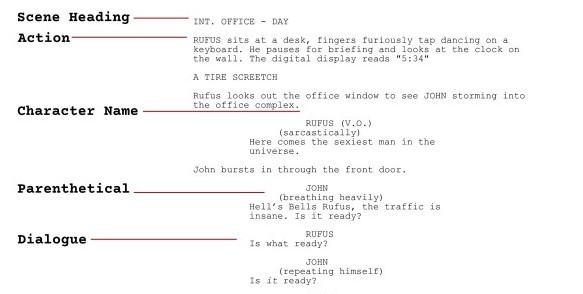
If you look at a finished screenplay you see that all the different elements have a specific kind of formatting, meaning where your Character names are, how much your dialogue is indented, and all that kind of stuff.
While you’re writing, you don’t need to worry about all of that. Fade In uses pre-set formatting elements and will jump from one to the other just the way you need it in almost all cases.
Let’s see how this works.
Jumping through Elements with TAB and ENTER
Let’s create a new screenplay by going to “File – New”. Now because the first thing you’re going to write will be a scene header, Fade In’s formatting is set to “Scene Heading” already. You see this in the Format panel in the top right corner.
So, let’s type something, for example “INT. GARAGE – DAY”.
If you hit ENTER, Fade In jumps to the next line and as you can see the formatting is automatically set to “Action”. Because most likely the next thing you’re going to write will be an action line.
So, let’s do that. Let’s type, “A lovely spring day.” Now, this is maybe not a great opening action line but it servers its purpose.
Now, if you hit ENTER again, Fade In jumps to the next line, assuming you want to write another one. But, let’s pretend we don’t want that, instead we want to write some character dialogue.
In order to do that hit TAB, and Fade In jumps to almost the middle of the page because that’s where the character name goes.
Say, this character is named “John”. You see the name is typed all caps because that’s industry standard and Fade in takes care of that for you as well.
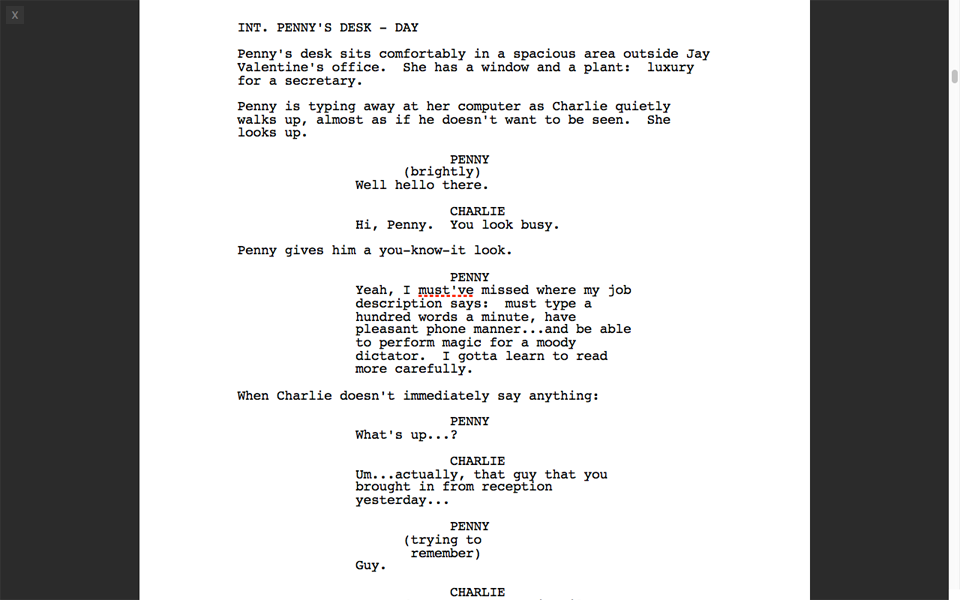
Hit ENTER and you jump to yet another formatting element, the dialogue element itself, where you can write what the character says.
As you’ve just seen you can jump between formatting elements very quickly using a combination of ENTER and TAB and you will get used to going from element to element with those two keys.
Manually change Formatting Element
If for some reason Fade In guessed the format element you want to use wrong, and you need one that’s more uncommon, like for example transition, just pick and choose them from the format panel while the cursor is in the line with the element you want to change.
Fade In’s Formatting Elements
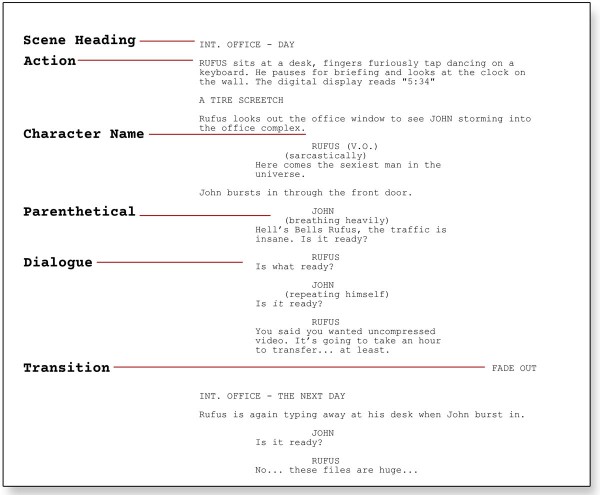
The formatting elements Fade In uses, are pretty much the same as in other screenwriting software. They are:
Normal Text
This is just plain, unformatted Text. All other elements are based on the settings of this one. Meaning, if you change the font of your Normal Text element, all other elements will update accordingly.
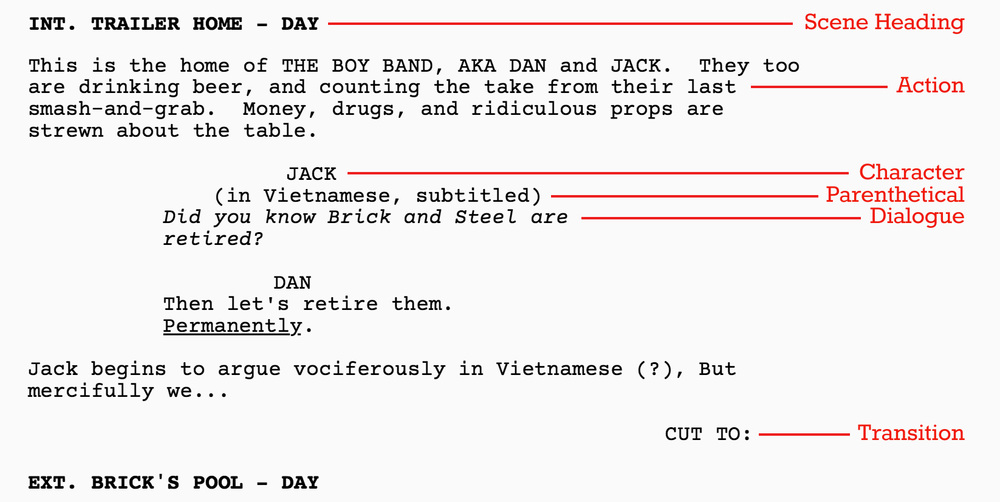
Scene Heading
This is the first line of every scene that describes among other things where this scene takes place, what time of day it is and if it’s taking place outside or inside. It’s automatically capitalized. Pressing ENTER brings you to the Action element.
Action
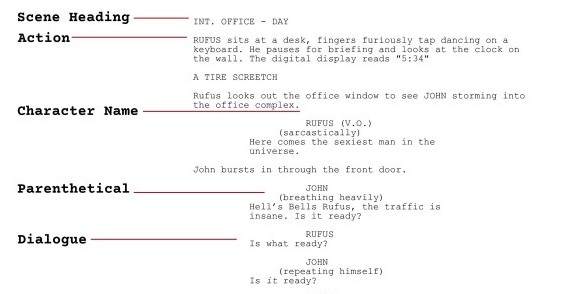
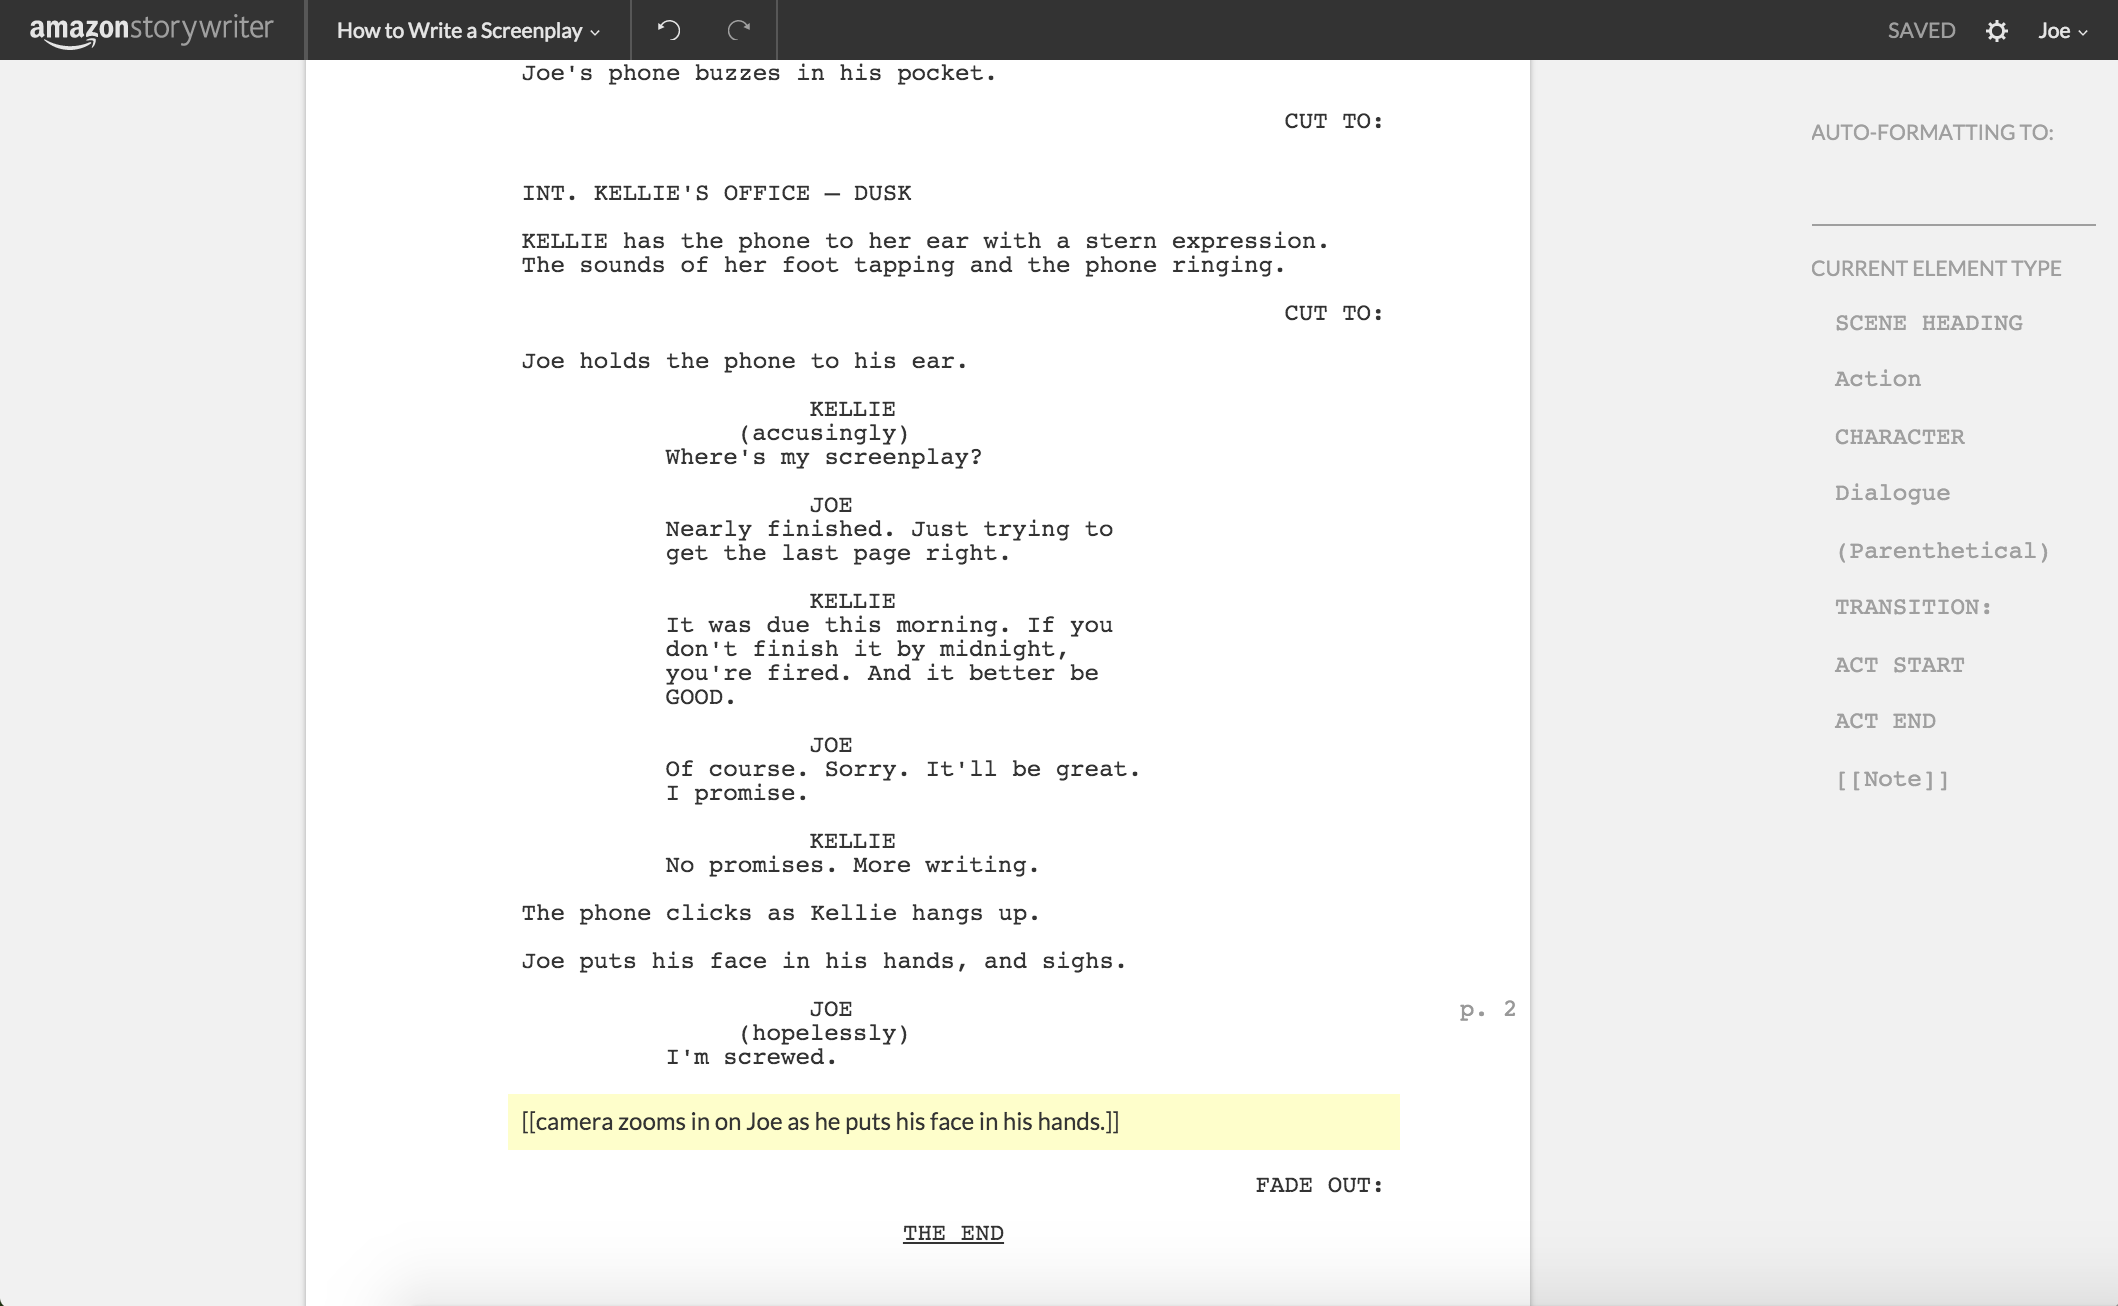
This is your scene description, the action that describes what is happening in your scene. If you don’t need a description at a certain place, just hit TAB and the element changes to the Character element.
Character
This is the name of your character that indicates who the following dialogue belongs to. Fade In capitalizes the name automatically. Pressing ENTER takes you to the Dialogue element.
Parenthetical
Parentheticals hold directions for how a line of dialogue should be delivered or other additional information. You get to the Parenthetical element either by hitting TAB when you’re in the Character element, or when you’re in an empty dialogue line.

Dialogue
Your lines of dialogue come below the character’s name or a Parenthetical element if you have one. You get to the dialogue element either by pressing ENTER after the character name or after the Parenthetical, or by TAB if you’re in an empty Parenthetical line.

Transition
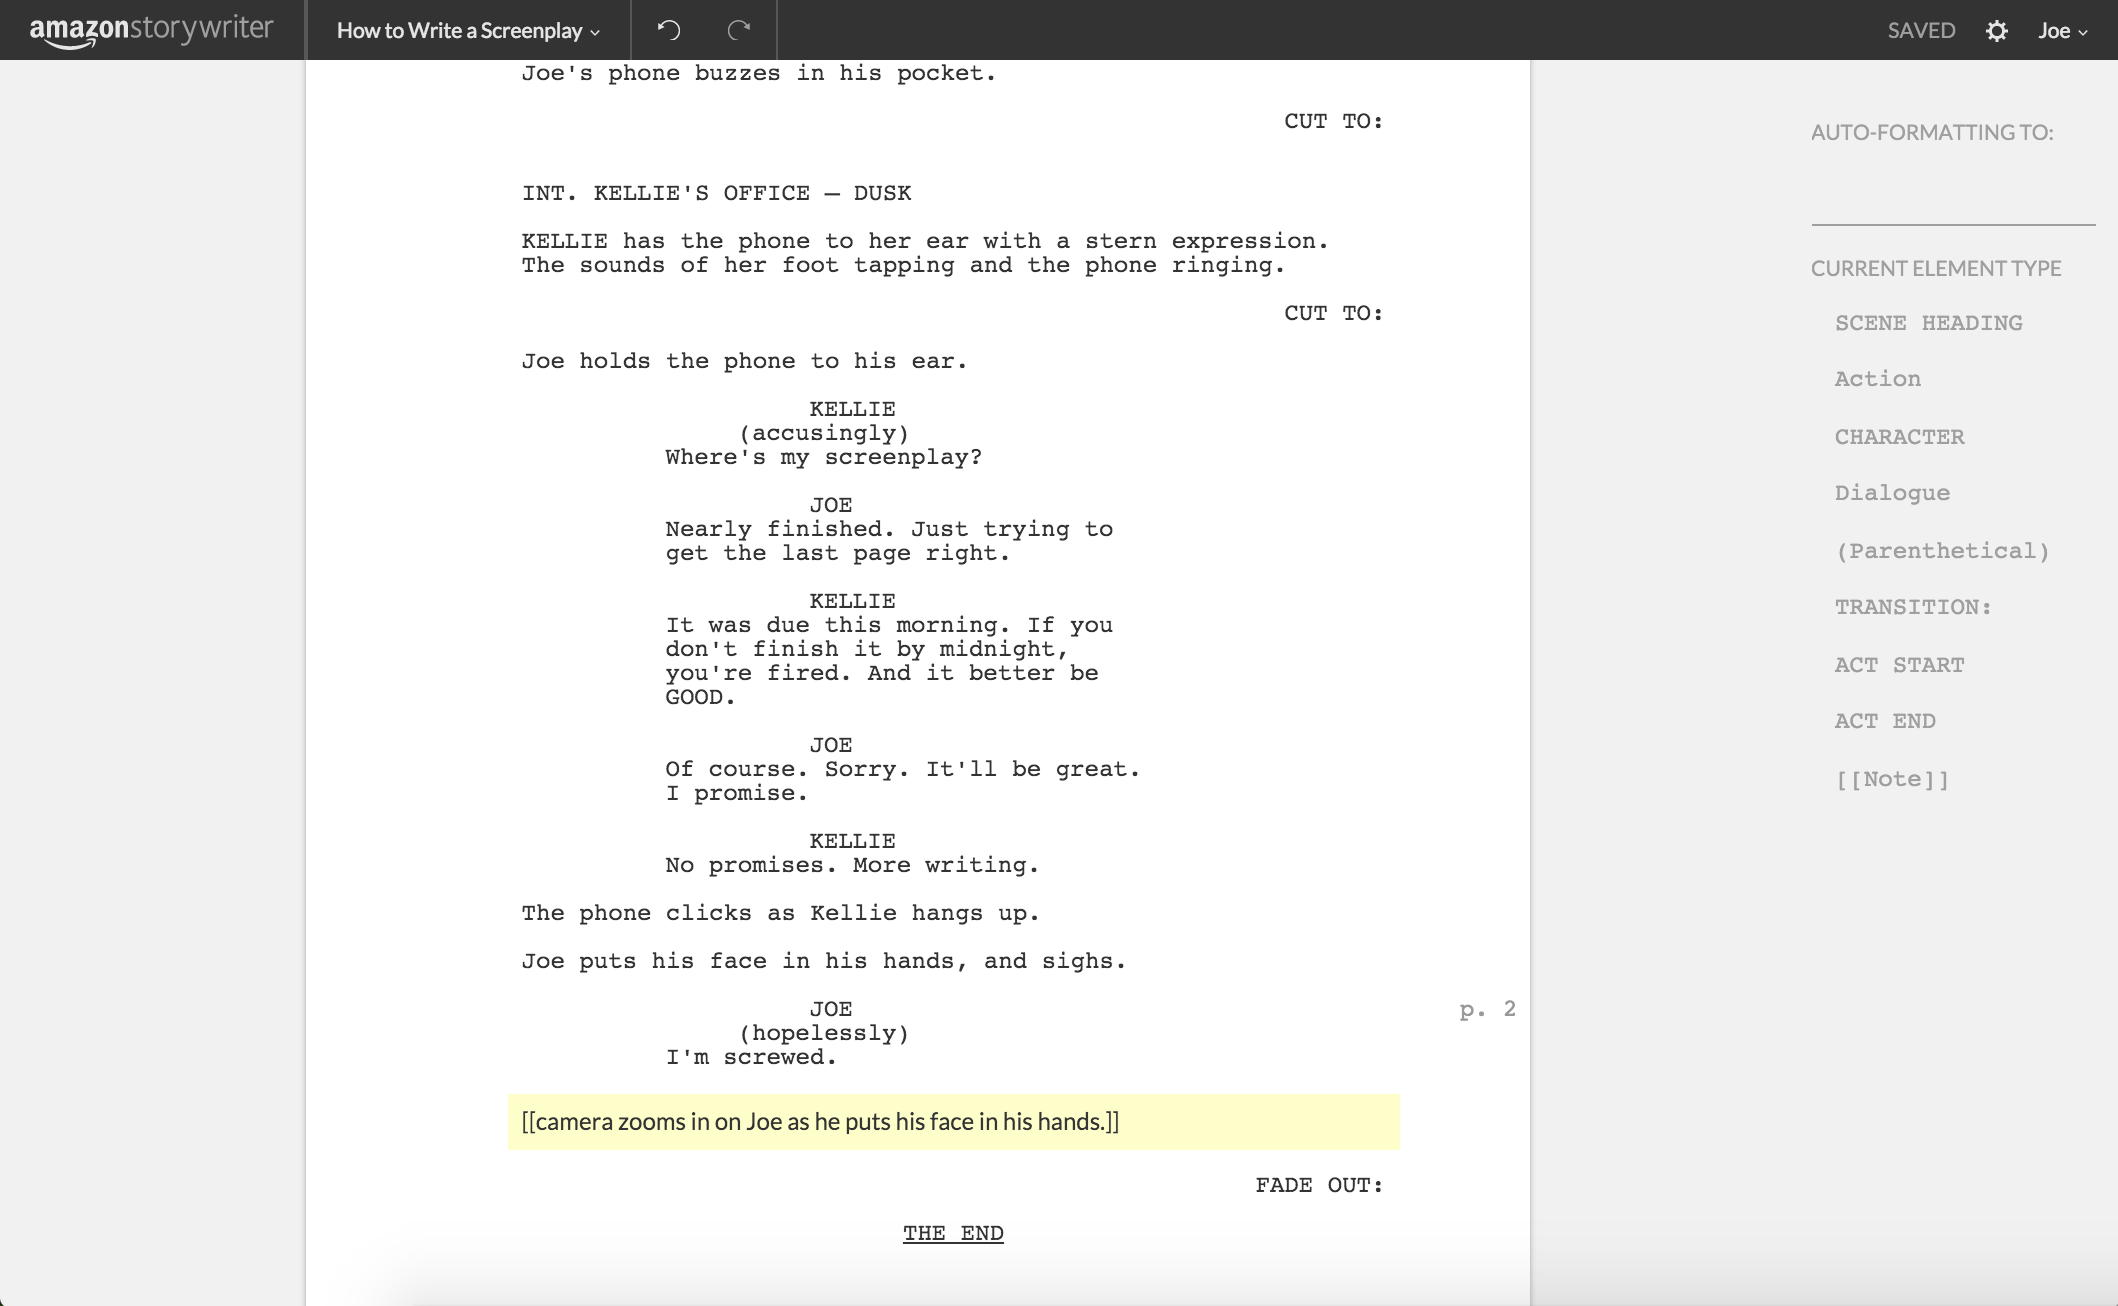
Transitions indicate how you go from one scene to the next. They appear on the right side of the page and are capitalized. Hitting ENTER after the Transition element brings you to the Scene Heading element again.

Shot
Shots indicate a specific camera angle, if you want to include that. They’re also capitalized. Hit ENTER after a shot and you get to an Action element.

If for any reason you want to create new format elements or change one of the existing ones, you can do so in the “Format” panel. Go to “Format – Element Styles – Create New Element”. You can change all the settings like name, indentation, keyboard shortcut and so on and so forth.

If you want to know more about customizing your own format elements, there’s another video here that goes into more depth about that.
If you want to learn more about different Fade In tools and functions, look for more articles and videos here on writersterritory.com or on my YouTube channel.
If you’re missing something, drop me a quick message or cxomment below and tell me what you’ve been looking for that I should include in future articles and videos.
If you like this article and you’re here for the first time please subscribe to my newsletter. I want to help you find the perfect writing software for you and help you with problems and questions you might have about the software you already own, so you can go back to your writing as quickly as possible and spread the important stories and messages you want to share with others and hopefully enrich other peoples lives.
If you want to get in contact with me, the links are down below, just drop me a message and I’ll respond as quickly as I can.


