In this article I’ll tell you more about the keyboard inside of the iOS version of Scrivener, it can do some pretty neat stuff.
Last week I gave you a little overview of what the app can do, and if you missed it, go watch it afterwards, it’s really great to see that Literature and Latte was able to port many of the functionality of the big versions over to the iPad or iPhone.
So, today, I’m gonna go a little bit more into detail about what the app can do. Maybe some of you are still on the fence about whether you should buy it or not, so I just want to show you a little bit more.
The Keyboard
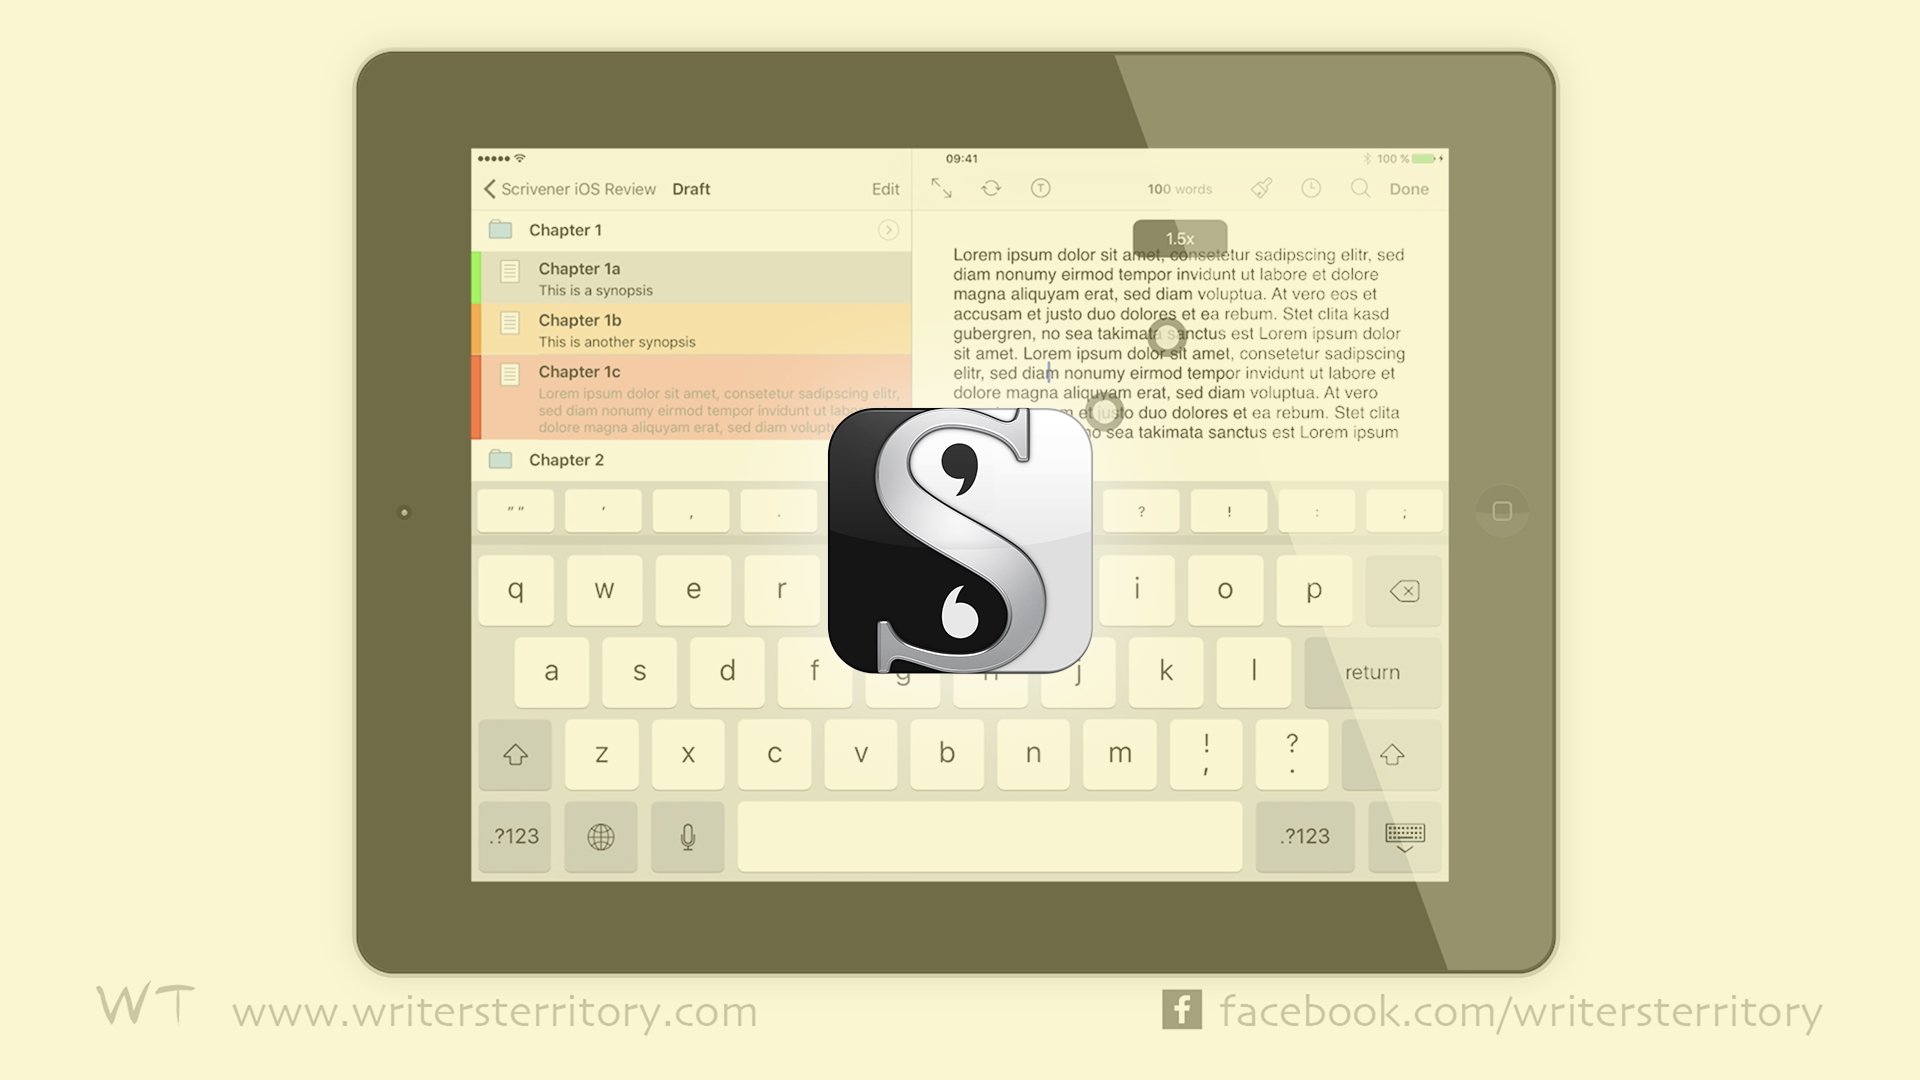
For those of you who have already tried it you might have noticed that the keyboard in Scrivener for iOS has an extra top row of buttons.
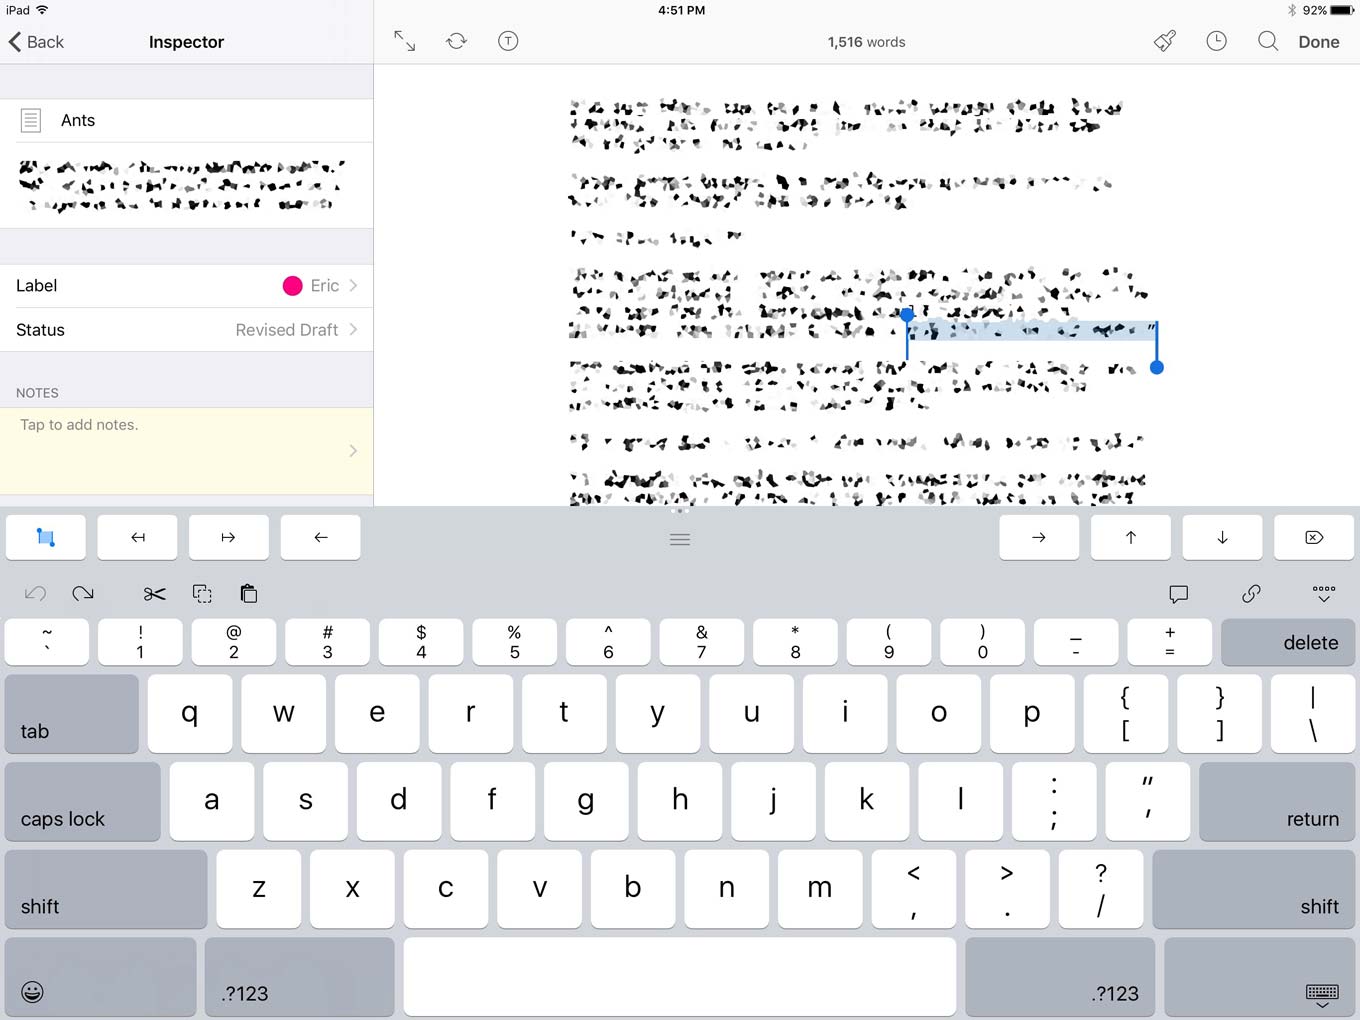
In case you don’t see it on your version, you can switch it on and off in the App settings. When you’re inside a project, open the settings tab inside your Scrivener App and then hit “Show App Settings”. Or just navigate to the global Scrivener settings page on your iPad or iPhone.
Now in the Editor menu make sure you have “Keyboard Row” activated, otherwise you won’t be able to see it.
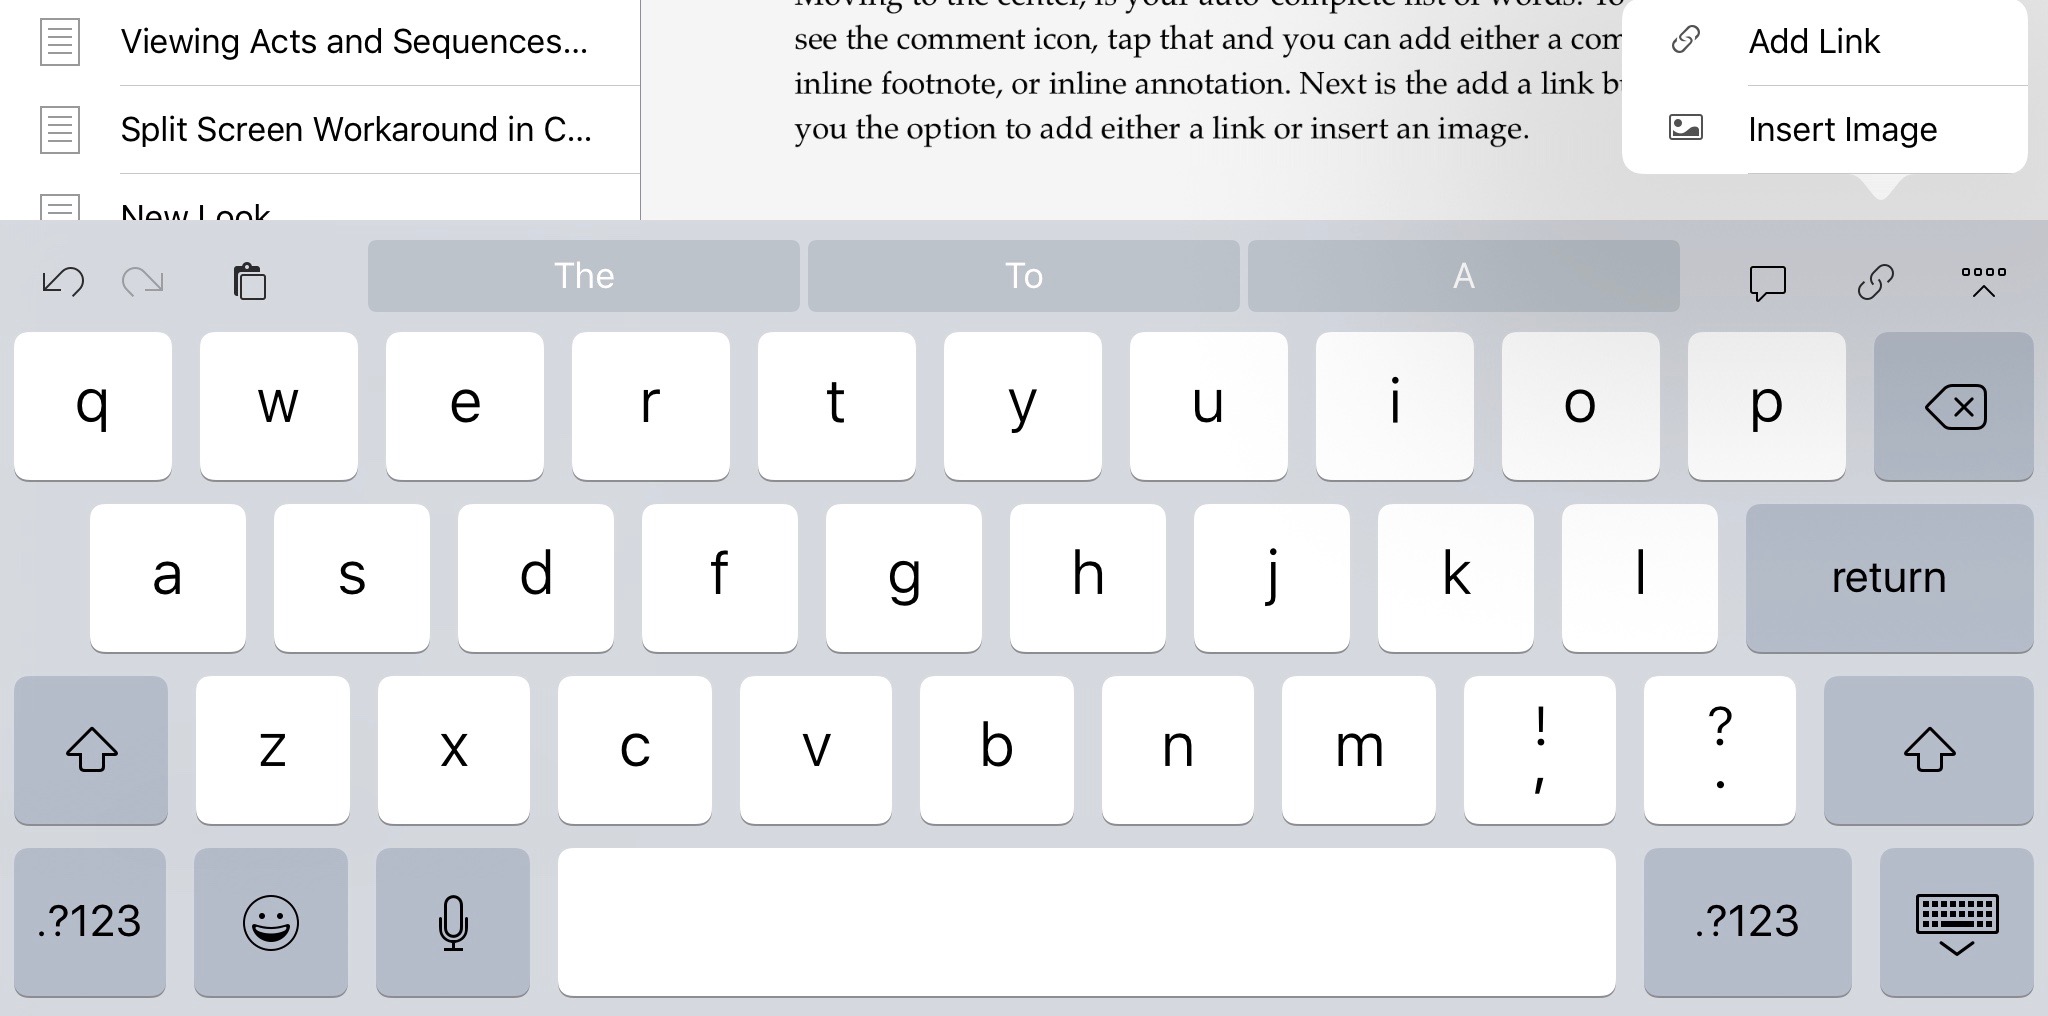
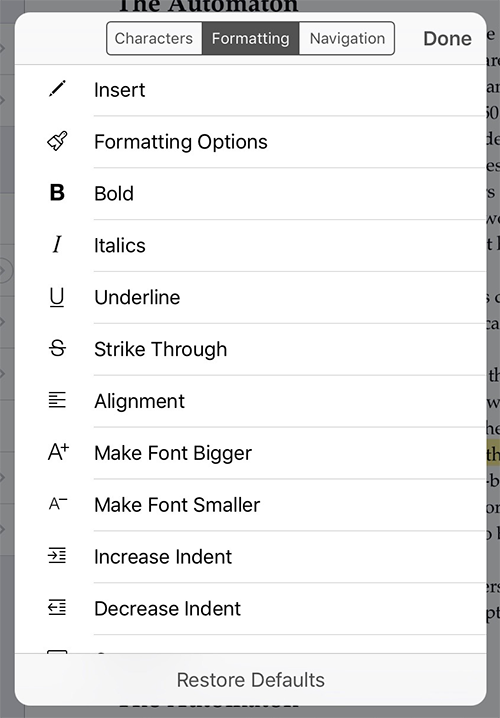
What that extra row does is it gives you three sets of buttons for Navigation, Formatting and Characters. Just swipe in the middle of the row to change to another set.
Let me show you real quick what you can do with it:
Navigation Row
The navigation row gives you a set of cursor buttons to jump back and forth in your editor more quickly. It also gives you a forward delete in addition to the normal backward delete button, which is very useful in my opinion.
On the left on the navigation pane you have a button to activate selection mode. If you press that and navigate through your document you can select parts of your text very quickly and easily.
Formatting Row
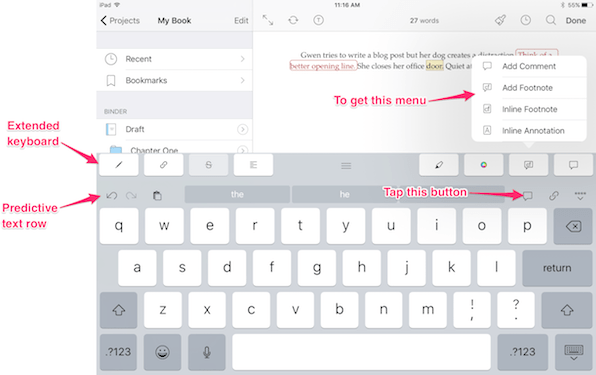
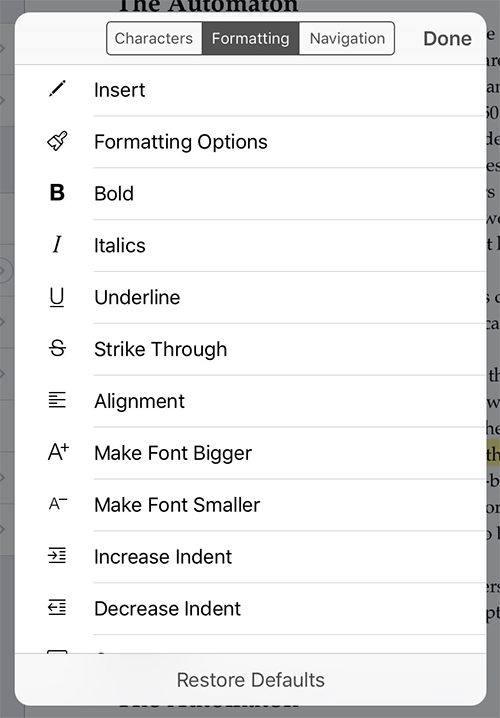
The formatting row gives you the formatting tools that you’re used to from the big Scrivener version:
-
Inserting links, comments, annotations, footnotes and images
-
There’s also an extra insert link button for quick access
-
Strikethrough
-
Paragraph Alignment
-
Text Color and Highlight Color
-
And extra button for footnotes and as well as an extra button for comments
Character Row
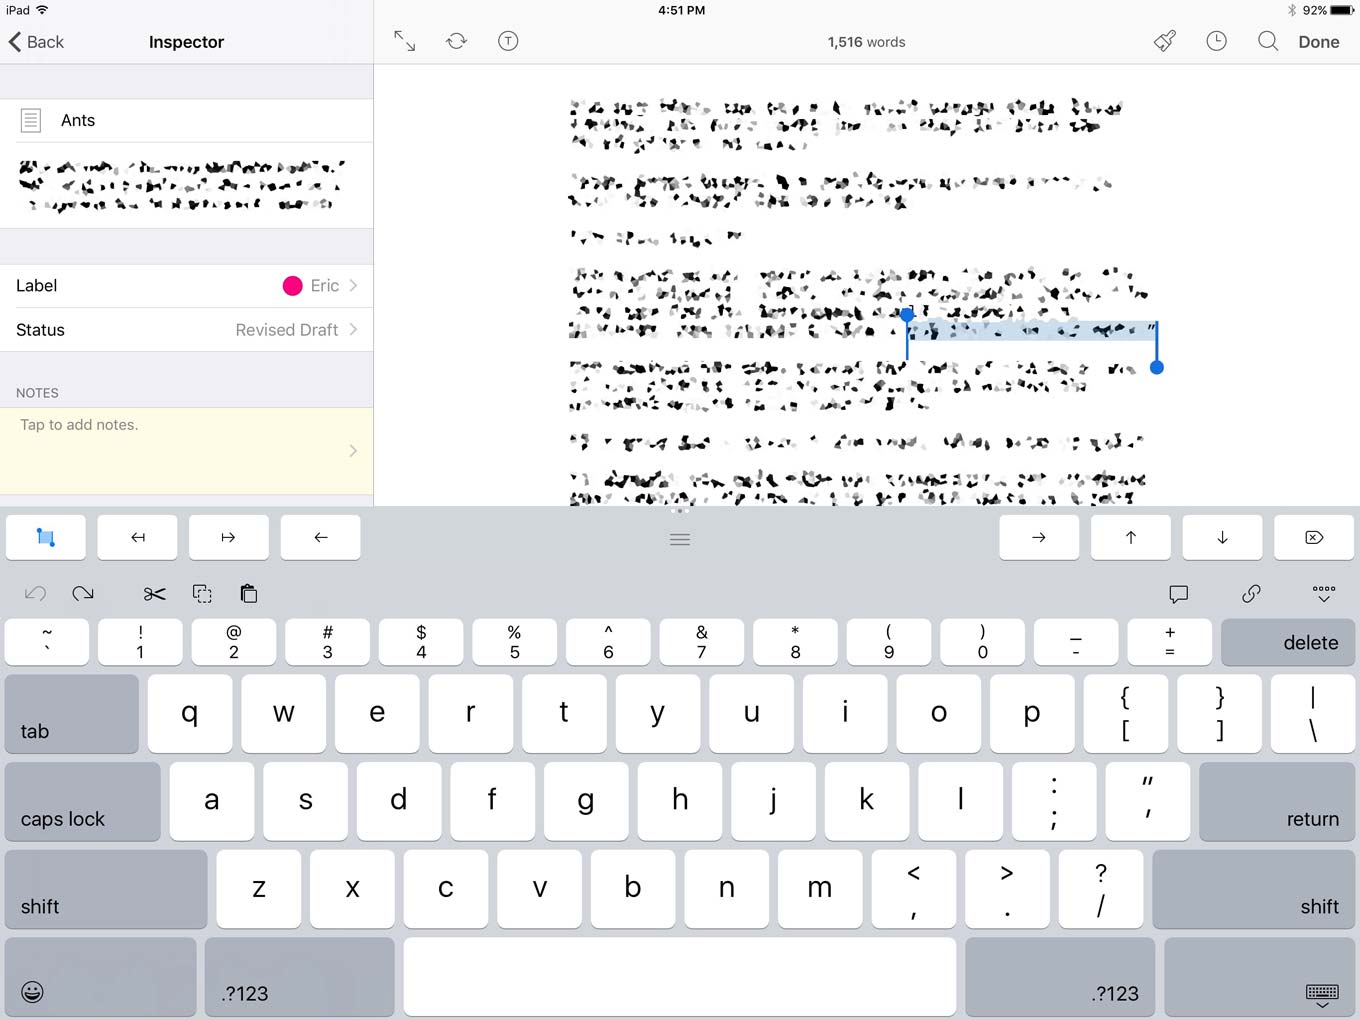
On the character row you have a selection of character buttons for easy access so you don’t have to switch around on the big keyboard in order to get to them, which will save you a lot of time.
Customization
Now, what if you would like to use these extra buttons a little differently or you’d like to add another character that you use very often.
Push and hold one of the buttons and a customization window pops up. Here you can choose which functions you want to use on this extra keyboard row for your character, formatting and navigation row.
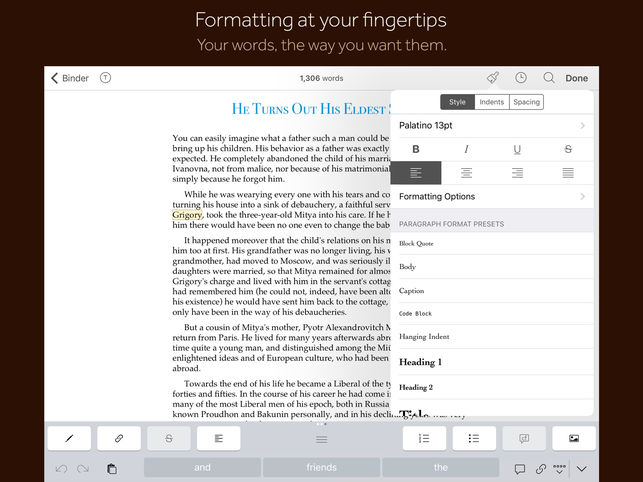
This allows you to adapt the Scrivener keyboard to your writing style or the need of the project you’re working on right now.
I hope I could tell you a little bit of new stuff about the Scrivener iOS version, if you want to learn more about different Scrivener tools and functions, look for more articles and videos on writersterritory.com or on my YouTube channel.
If you’re missing something, drop me a quick message and tell me what you’ve been looking for that I should include in future articles and videos.
If you like this article and you’re here for the first time please subscribe to my newsletter. I want to help you find the perfect writing software for you and help you with problems and questions you might have about the software you already own, so you can go back to your writing as quickly as possible and spread the important stories and messages you want to share with others and hopefully enrich other peoples lives.
If you want to get in contact with me, the links are down below, just drop me a message and I’ll respond as quickly as I can.
Have fun writing everybody. See you. Bye.




Have you tried the iOS version of Scrivener yet? What do you think?
I love Scrivener but I know there are may options I haven’t discovered yet. Thanks for your videos!